
Setting up a vendor booth shouldn’t feel chaotic. It should feel like:
✔️ You know exactly where everything goes
✔️ Customers can shop without confusion
✔️ The market manager isn’t side-eyeing your extension cords
✔️ And you’re not digging through bins looking for tape five minutes before doors open
Three Pro Strategies for Any Vendor Booth Setup
Think of your booth setup as a system, not a guessing game. Every great vendor booth has three parts:
- Looks good from far away
- Makes shopping easy
- Runs smoothly behind the scenes
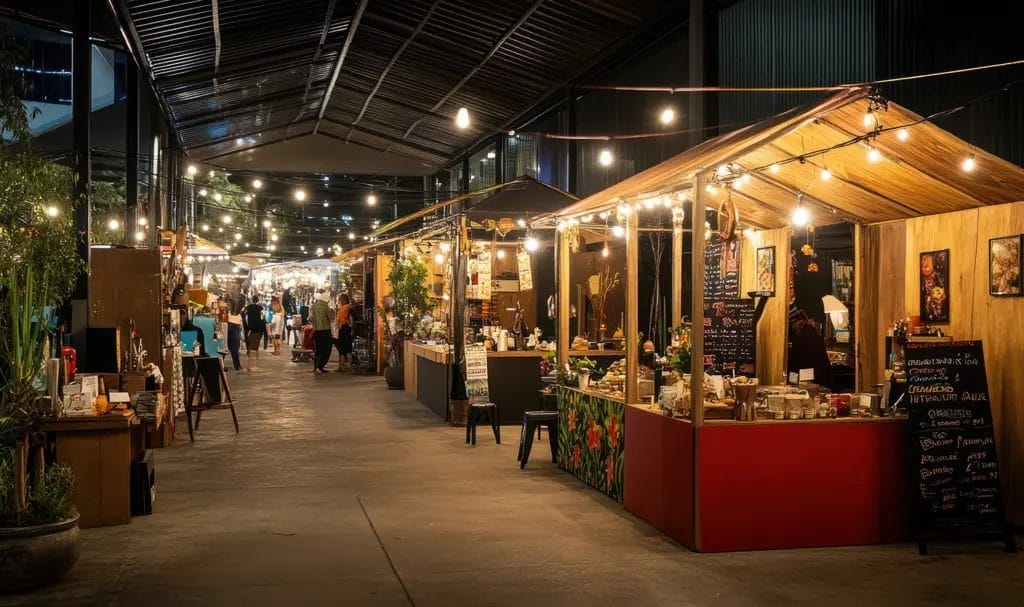
Vendor Booth Setup Ideas to Master Your Next Event
Whether you’re selling at a craft fair, farmers market, pop-up market, or trade show, every detail in your setup plays an essential role.
Your signage attracts. Your layout guides. Your behind-the-scenes setup keeps everything running smoothly. When those pieces come together, your booth feels confident, organized, and event-ready — not rushed or thrown together.
Let’s begin with what customers notice first.
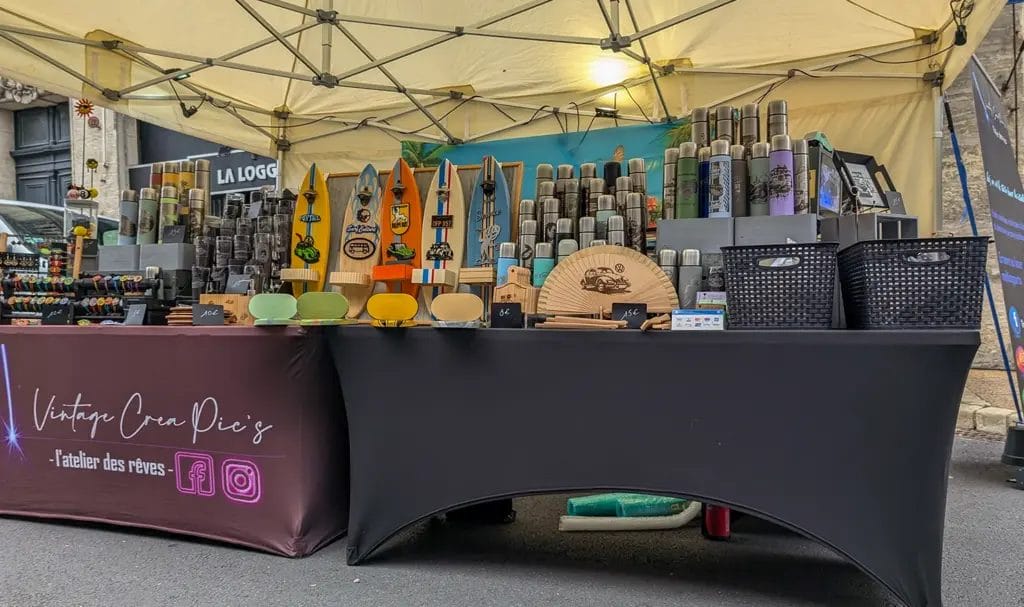
Start With Booth Basics That Build Trust
Before anyone buys, they scan. From 10–20 feet away, customers should instantly see:
✅ Your business name (big + readable)
✅ What you sell
✅ Clear pricing
Your essentials:
- Branded table cover or runner
- Backdrop or banner with your business name
- Clear pricing signage
- Vertical displays (gridwalls, shelves, risers)
- Display props that match your brand
- Sign holders and price tags
Pro Tip: Keep key signage at eye level (around 5–6 feet high if possible). If people have to squint or bend down to understand what you sell, you’re losing impulse buyers.
Streamline the Shopper Experience
Once someone steps in, your booth layout should feel obvious.
❌ No traffic jams
❌ No awkward “Where do I stand?” energy
❌ No hidden checkout confusion
Here’s what helps:
- Mobile point-of-service (POS) system
- QR codes (menu, catalog, social links)
- Business cards or take-home info
- Samples/testers (if allowed)
- Clear aisle space
- Hidden storage bins
- Trash bag or small bin
- Hand wipes or sanitizer
Keep walkways visibly clear. Clear paths guide foot traffic, prevent tripping hazards, and keep your booth accessible. If you’re working with a 10×10 canopy (the classic market size), your layout matters more than you think!
Want more visual inspiration? Check out our full guide to Vendor Booth Display Ideas for styling and branding tips.
3 Proven 10x10 Vendor Booth Layout Templates
No matter the layout:
- Keep at least three feet of clear walkway inside your space
- Avoid placing products directly on the ground
- Don’t let cords creep into customer zones
Here are three field-tested setups that work (and apply these techniques):
1. The U-Shape (High Engagement)
Best for: Jewelry, candles, skincare, handmade goods
✔️ Tables on three sides
✔️ Open front entry
✔️ You stand near the opening
Why it works: Customers step inside your space and feel immersed, making it great for storytelling brands.
2. The Straight Table (Fast Flow)
Best for: Food vendors, baked goods, high-volume sellers
✔️ One long table at the front
✔️ Inventory behind you
✔️ Clear checkout zone
Why it works: Quick transactions make line management easier.
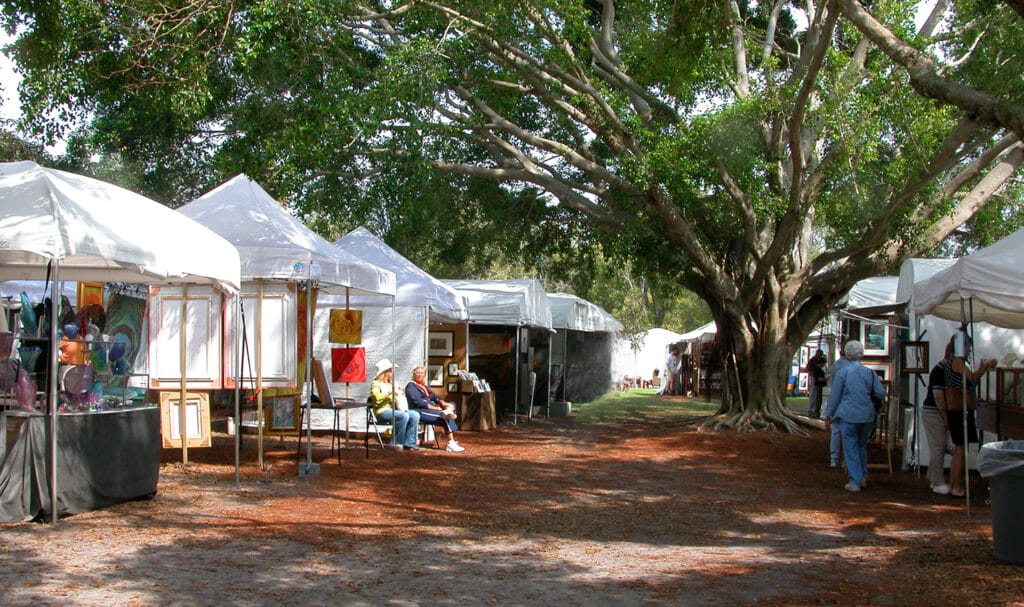
3. The Corner Entry (Open + Inviting)
Best for: Art prints, boutique-style brands
✔️ Table along one side
✔️ Display wall or gridwall behind
✔️ Diagonal entrance
Why it works: It feels less crowded and encourages browsing from multiple angles.
Common Vendor Booth Compliance Requirements
This is the part vendors sometimes skip… and regret. Many event organizers enforce safety standards to keep attendees, staff, and vendors safe. Requirements can vary by event, and vendors are often asked to confirm compliance before setup or at check-in.
Use the following best practices to protect your booth and event participants.
Clear Paths, Spacing, and Accessibility
Events typically require vendors to keep walkways and exits clear. This involves:
- Staying within your assigned booth space
- Keeping aisles open and free of displays or cords
- Avoiding products placed directly on walking paths
- Ensuring fire lanes and exit paths stay clear
If you’re unsure, ask: “Are there minimum aisle widths or fire lane rules I need to follow?” Market managers love vendors who ask smart questions!
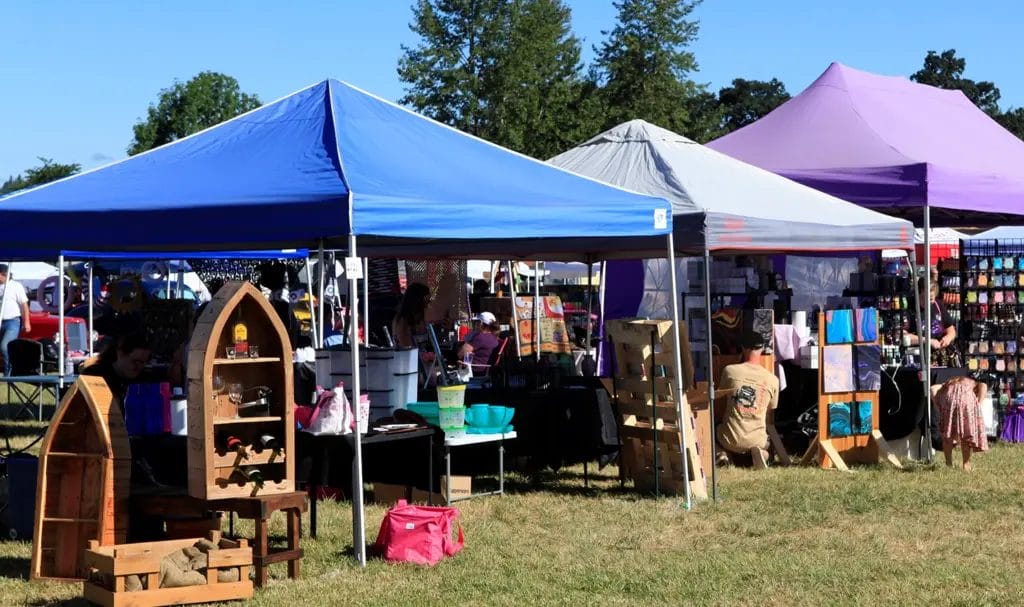
Tent Weighting and Outdoor Safety
Most outdoor events require weights on every tent leg. If you’re using a 10×10 canopy, this is typically a non-negotiable. Keep in mind:
- Use approved tent weights or sandbags
- Verify minimum weight requirements per tent leg
- Stakes may be prohibited on paved or shared surfaces
- Sidewalls, banners, and backdrops should be securely fastened
You’ll commonly see tent weight rules for 20–40 lbs per leg (some events require more). Unweighted tents can lift in the wind, causing serious injury or property damage. It’s one of the most common safety issues at markets.
Power and Equipment Rules
Event staff may inspect power setups to ensure they meet safety standards and equipment guidelines. If you’re using lights, warmers, or POS systems:
- Extension cords should be rated for event or outdoor use
- Avoid running cords across walkways unless properly covered
- Daisy-chaining multiple power strips together is typically excluded
- Power sources and generators may require prior approval
Pro Tip: Bring more extension cords than you think you need. Power sources are rarely where you expect them to be!
Permits and Event-Specific Approvals
Permits are often issued at the city, county, or state level. Depending on the event, organizers or local authorities may require:
- Temporary sales permits or vendor licenses
- Food permits for selling or sampling food and beverages
- Health department approvals for food, drink, or beauty services
- Sales tax permits
When in doubt, ask, “Are there any permits required for my product category?”
Your Final Key Set-Up Component: Vendor Insurance
Many markets, fairs, and trade shows want proof you’re covered if something goes wrong. To do that, they’ll often request proof of vendor general liability insurance before you’re allowed to set up.
This “rule” commonly exists because accidents happen more often than you may realize (not because they think you’re reckless).
Common vendor claims include:
- Slips, trips, or falls in or near your booth
- A display tipping over (commonly caused by wind)
- Allergic reactions to a product sample
- Theft or damage of products or vending supplies
What Events Typically Ask For
Vendor insurance is designed to protect both the vendor and the event in the event of an accident, injury, or property damage. Common insurance requirements include:
- Many events require general liability insurance before setup
- Vendors may need product liability coverage if they sell, sample, or demonstrate products
- A vendor Certificate of Insurance (COI) is often required as proof that you’re covered
- Event organizers may ask to be listed as an additional insured
A Certificate of Insurance (COI) is simply a document showing your coverage and (if required) the event listed as an additional insured. Events most commonly request this during registration, in pre-event paperwork, or at check-in.
If an event requires proof of vendor insurance, having a COI ready in advance can prevent setup delays and compliance issues on event day. If you don’t have it when requested, you could lose your booth space.
To learn more about vendor insurance requirements, start with these resources:
Event-Approved Booth Set-Up Checklist
A smooth setup is like the secret sauce to having a successful event day. Planning ahead helps your booth run more smoothly and eases some of those event-day jitters.
- Practice setup ahead of time: Do a full test run at home so you know what fits, what doesn’t, and how long setup really takes
- Create a loose layout map of your booth: A simple sketch allows you to visualize where tables, displays, signage, and power will go
- Take photos of successful setups: When something works, those photos become your reference for future events
- Keep a checklist of items to pack: Update it after every event so you don’t forget essentials next time
- Label bins and items for faster setup: Clear labels save time and reduce stress when you’re working in tight spaces (or under tight deadlines)
- Grab inspo from other booths: Notice what draws people in, different setups, and how other vendors manage traffic, then adapt those ideas to fit your setup
- Pack extra extension cords: Power sources are rarely where you expect them to be, so bring more than you think you’ll need
- Keep walkways visibly clear: Clear paths help guide foot traffic, prevent tripping hazards, and keep your booth accessible
Set Up Like A Pro!
A great booth set-up isn’t just about looking cute. It’s about creating a spot that is safe, easy to shop, and compliant! Having the right vendor insurance is key to a smooth event check-in.
With Insurance Canopy, market day = handled. Grab your policy online in minutes today!
Vendor Booth Setup FAQs
How Much Does It Cost to Set Up a Vendor Booth?
The cost to set up a vendor booth varies based on canopy, signage, displays, permits, and insurance. Many new vendors start between a few hundred and a few thousand dollars, depending on setup quality and event type.
What’s the Best 10x10 Vendor Booth Layout?
The best 10×10 vendor booth layout is typically a U-shape for engagement and shopper experience. However, it depends on what you are selling and how your customers interact with your booth.
Straight table set-ups are great for speed, while corner entry is excellent for browsing brands.
How Do I Make My Booth Stand Out From a Distance?
Make your booth stand out from a distance by using vertical signage, consistent branding, clear pricing, and strong contrast. Your business name should be readable from 10–20 feet away.
How Early Should I Arrive for Vendor Booth Setup?
Most events recommend arriving at least 90 minutes early for vendor booth setup. Larger festivals may require more time, or allow you to come the day before.
Do I Need Insurance to Set Up a Booth at a Market or Craft Fair?
Yes, you likely need insurance to set up a booth at a market or craft fair. Many events require general liability insurance before setup and a Certificate of Insurance (COI). Some also require product liability.
How Do I Get a Vendor COI Fast?
Get a Certificate of Insurance (COI) fast when you purchase coverage online. With Insurance Canopy, you can access your vendor COI instantly after buying a vendor policy. Download an unlimited number of copies from your online dashboard on any device at any time!
You can also add an event organizer as an additional insured (if required) during checkout or from your online dashboard. Adding an additional insured generates unique Certificates of Insurance for each entity (allowing you to download and send them their own copy).