- Last Updated:
- 10/15/2024
- Chelsea Ramsey
Videos are essential for building a successful online training business. They allow you to reach more people, grow your client base, and increase flexibility in your schedule.
Building an exercise video library takes a good bit of time up front. But it can pay off in the long run by providing you with a whole collection of references and visual building blocks to help you create ongoing content. Take advantage of these tips on how to create your online personal training video archive.
- Plan Content for Your Personal Trainer Videos
- Get the Right Equipment for Fitness Video Production
- Find the Best Location and Practice Filming
- Build Your Exercise Video Library
- Reach Your Target Audience on the Right Platform
- Protect Your Online Personal Trainer Video Instruction
1. Plan Content for Your Personal Trainer Videos
When preparing content for your video exercise library you want to keep in mind a variety of factors:
- Platform(s) or software you use to run your business
- Platform(s) you plan to upload videos to
- Clientele and target audience
- Your schedule
- Filming location
- Equipment
- Back-up plans for potential inevitable hiccups like equipment malfunctions, power outages, etc.
Platforms
Keep your target audience and platforms in mind when planning your content.
For example, if you’re filming workout videos for apps like TikTok and Instagram only, and are using your phone, you can film vertically from the start. Otherwise, you want to make sure you film in landscape with plenty of space on either side of the frame to allow for cropping.
Content
You have many options when it comes to your content. There’s short or long-form, including clips for social media, individual circuits, whole classes, warm-ups, cool-downs, individual demo exercises…or all the above.
We recommend that you decide how you want to break up your recording sessions first, then plan the more specific exercises you want to record.
You can create longer videos by piecing together a series of individual clips or specific circuits with pre-recorded warm-up or cool-down segments.
Another option would be to record a whole workout and move through the entire plan like you were working out with your virtual client.
Some additional things that can help you with content planning include:
- Save time with batch filming
- Have at least one extra set of clothes in the event you get too sweaty or want to change your look
- Record your standard version of each exercise, along with modifications for those who need them (you can even include more challenging variations for your advanced clients)
- Do you also regularly train clients on live video calls? Make things easier for yourself by creating a permanent recording setup.
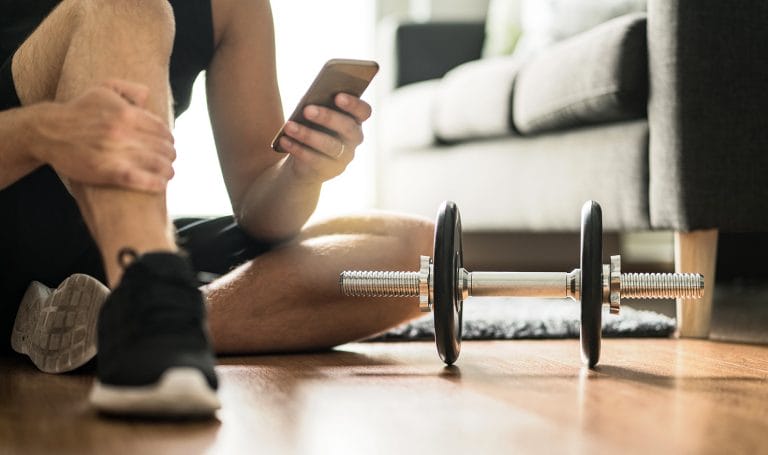
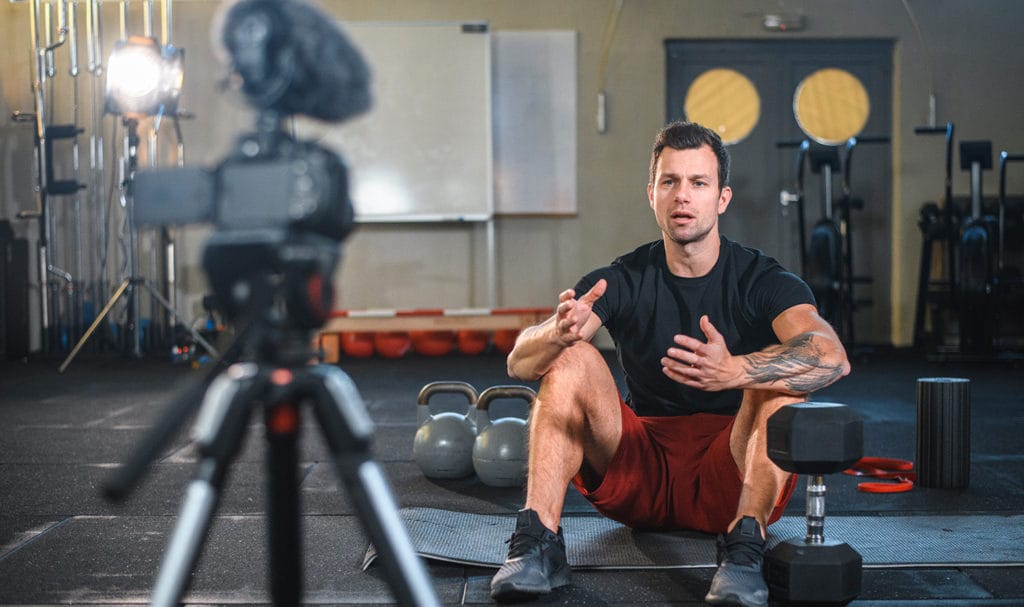
2. Get the Right Equipment for Fitness Video Production
You need two sets of equipment to film your personal trainer videos: your workout gear and your recording gear.
Keep a list of the equipment you need for each workout that you can also provide to your clients.
Filming Equipment
- Phone, camera, tablet, and/or computer
- Tripod
- Wireless microphone
- SD card for cameras
- Backup batteries or chargers
Rey Kifuri, Video & Social Media Manager at Insurance Canopy, offers this advice for affordable but effective equipment for filming and editing videos:
“You don’t need to break the bank to film your fitness videos. A good smartphone can do the job, but a few key pieces of gear can enhance your content.
A mirrorless camera like the Canon RP, which you can find used for around $600, paired with a stable tripod like the Manfrotto Compact Action (about $150), can significantly improve your video quality.
Additionally, the RODE Wireless GO mics are affordable, easy to use, and great for capturing clear sound in noisy environments. For particularly loud settings like gyms, plugging in a lavalier mic can help isolate your voice.
For lighting, a ring light or softbox can make a big difference indoors. If you’re filming outdoors, try to avoid harsh shadows by not filming in direct sunlight.”
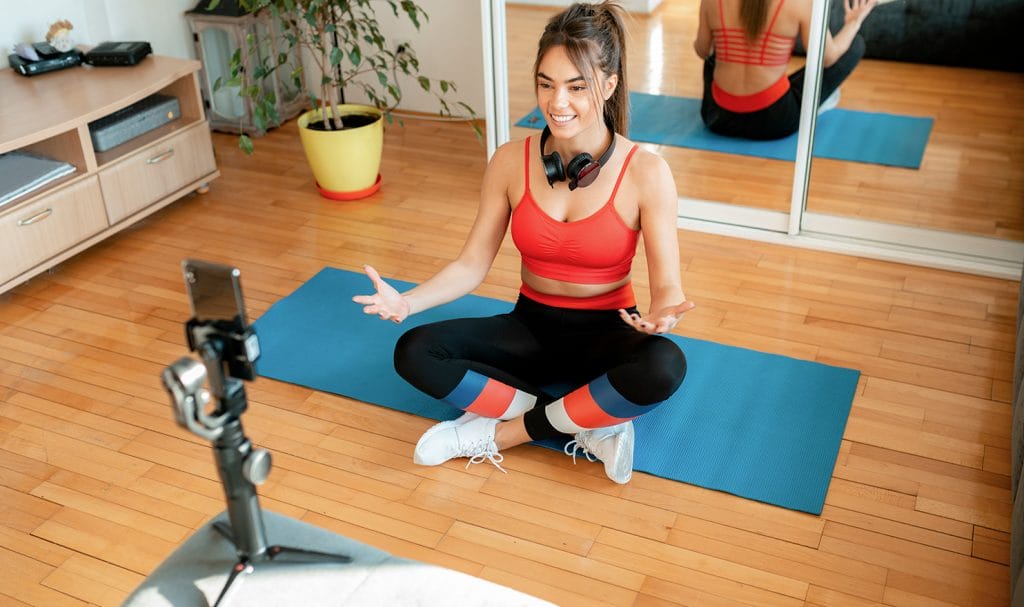
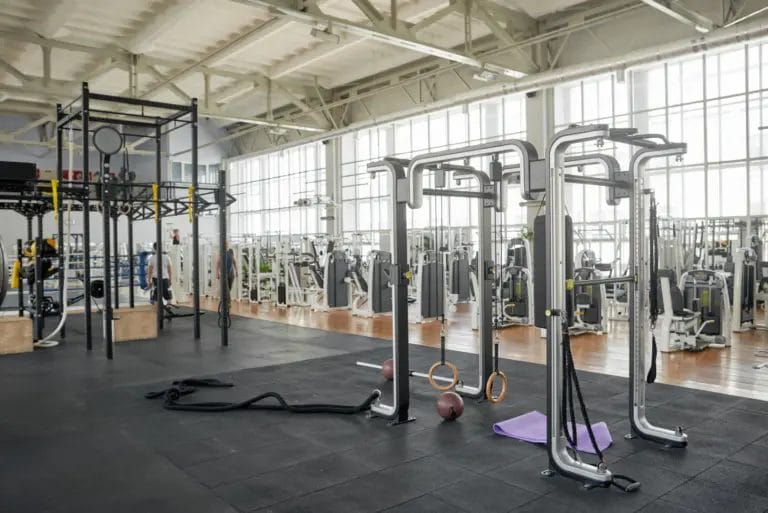
3. Find the Best Location and Practice Filming
When filming your exercise video library, it is important to choose a space that checks these boxes:
- No background noise
- As much natural and consistent light as possible
- Minimal shadows
- Free of distractions and clutter
If you can’t avoid background noise or don’t have a mic, you have the option to add voice overs to your videos later. This allows you to ensure clear and audible directions as well as provide additional instructions or explanations.
Filming location ideas:
- Outdoors in a quiet park or yard (potential cons: weather, uneven surfaces, other people)
- A personal studio
- Your home gym
- Other clear, well-lit areas of your own home
How to Film Yourself at a Gym
If you plan to film in a public gym, make sure you review that facility’s privacy policies or get permission to do so. Depending on the facility they may have additional rules around filming in their space.
If other people are in the shot, you want to get their permission as well.
Practice Your Routines and Recording
We recommend preparing a script, regardless of if you talk during your video or add voice overs later. It helps improve your flow to have reminders of key points you want to mention and when.
Practice your routines and scripts ahead of time so when recording day comes you can focus on quality audio and video instead of worrying about what to say or do next.
Once you’ve practiced and gotten your location, figure out your set-up. Confirm everything you want to be in the shot is clearly visible. Organize any equipment out of the camera’s view.
Then run through your planned routine once more to make sure you don’t inadvertently go out of frame.

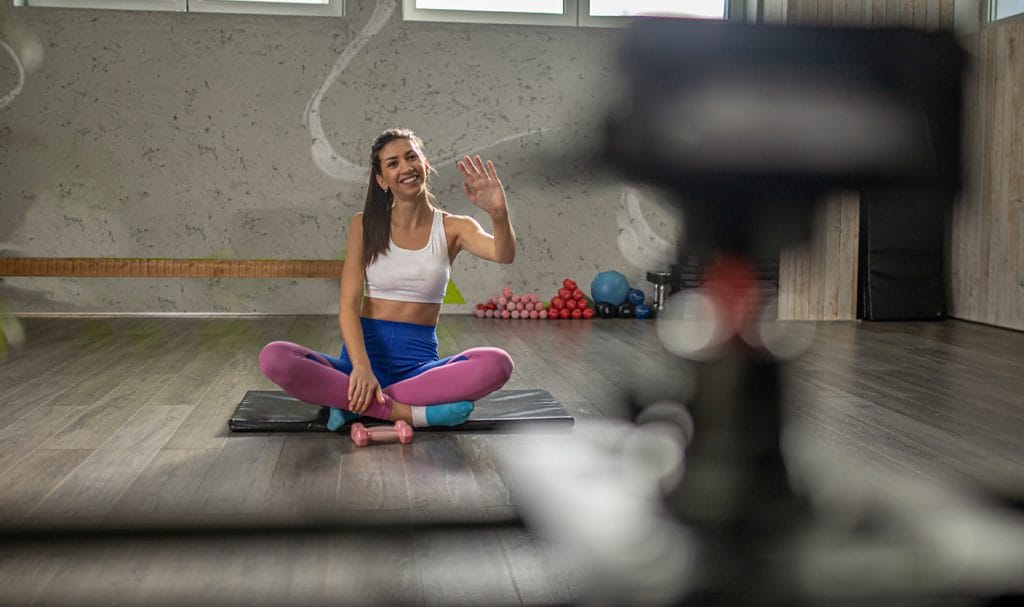
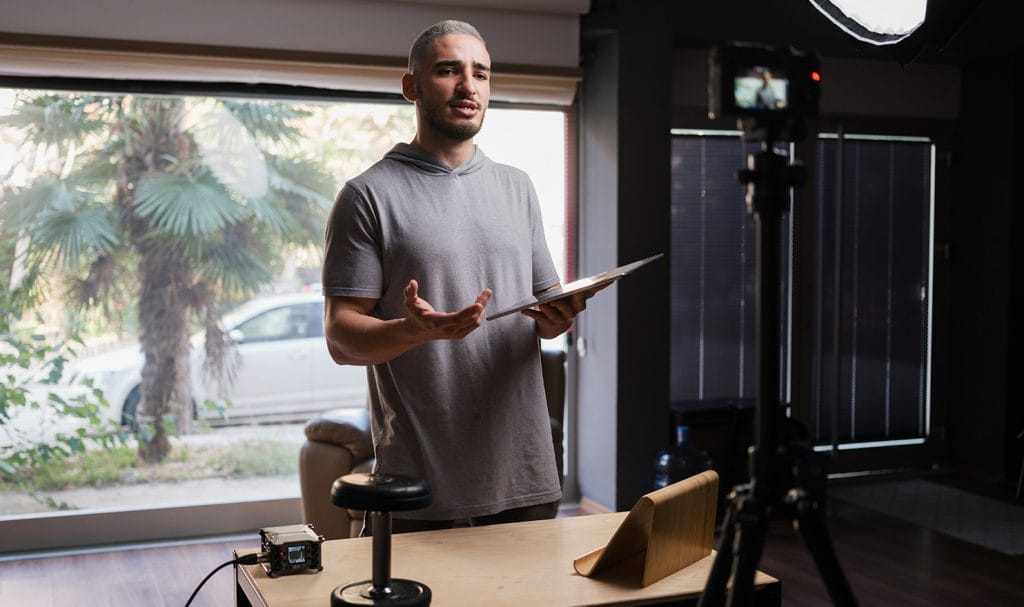
4. Build Your Exercise Video Library
You’ve made your plan, prepped your equipment, and practiced your script. Now it’s time to hit record!
Tips for recording:
- Make sure recording devices are fully charged
- If using a phone, switch to Airplane Mode or Do Not Disturb to reduce distractions and increase battery life
- Film in landscape
- Know what angles best showcase each move’s proper form
- Utilize a timer app
- Make eye contact with the camera consistently so it looks more natural to your viewers
- Speak clearly and with a smile
- Give cues and reminders
- Be encouraging
- Be yourself!
If you make a mistake, it’s okay! You’re only human. Acknowledge it, correct it, and keep going. (The occasional mistake may even endear you more to your clients!)
Recording yourself may feel a little odd or overwhelming at first but will get easier with time.
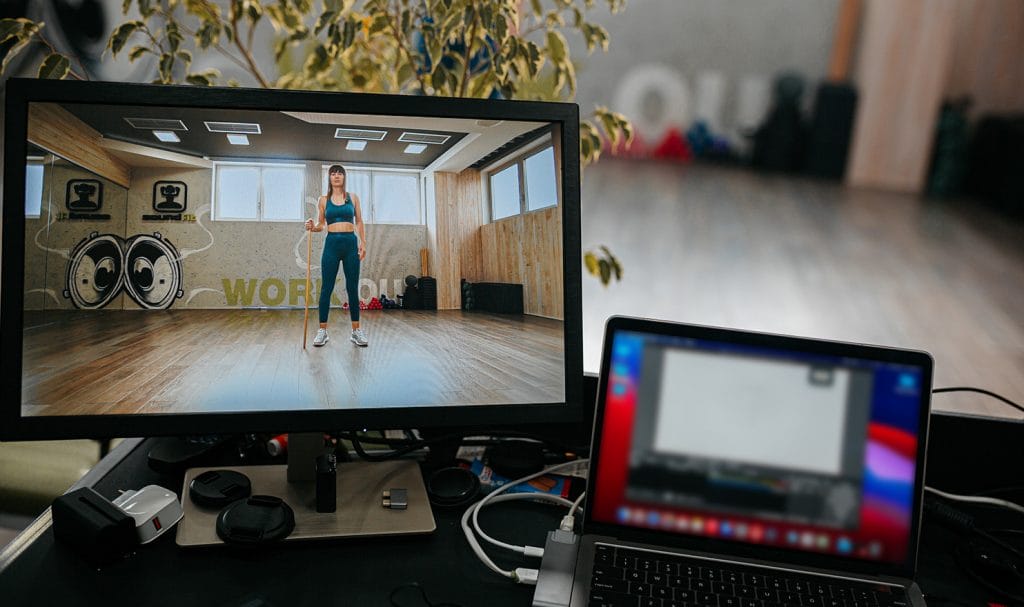
Post-Production Editing
After you’ve finished filming, you can start importing and editing. This can be the longest part of creating online personal training videos, so make sure you set aside ample time to do it.
Depending on your method of filming, you will need to get your videos from the recording device to your computer. These guides below can help you through this process.
- iPhone to a Mac, or iPhone to a PC
- Android to a Mac, or Android to a PC
- Digital camera to a Mac or to a PC (check your camera’s user guide)
Now you can import everything into your editing software. There are a lot of options out there, but these lists can help you research and choose what’s best for you.
- PT Distinction’s 9 Video Editing Software for Personal Trainers
- PC Mag’s The Best Video Editing Software for 2024
- CyberLink’s 5 Editing Apps that Include Free Stock Music
While editing you can add overlay text, captions, or voice overs. We recommend using captions regardless for hard of hearing users or those who prefer to watch on mute.
If you filmed multiple exercises in one shot, you could trim dozens of video clips from the original. For longer videos you can stitch together different clips, add warm-ups and cool-downs, put in rest breaks, insert modifications, or include any pre- or post-workout talking segments.
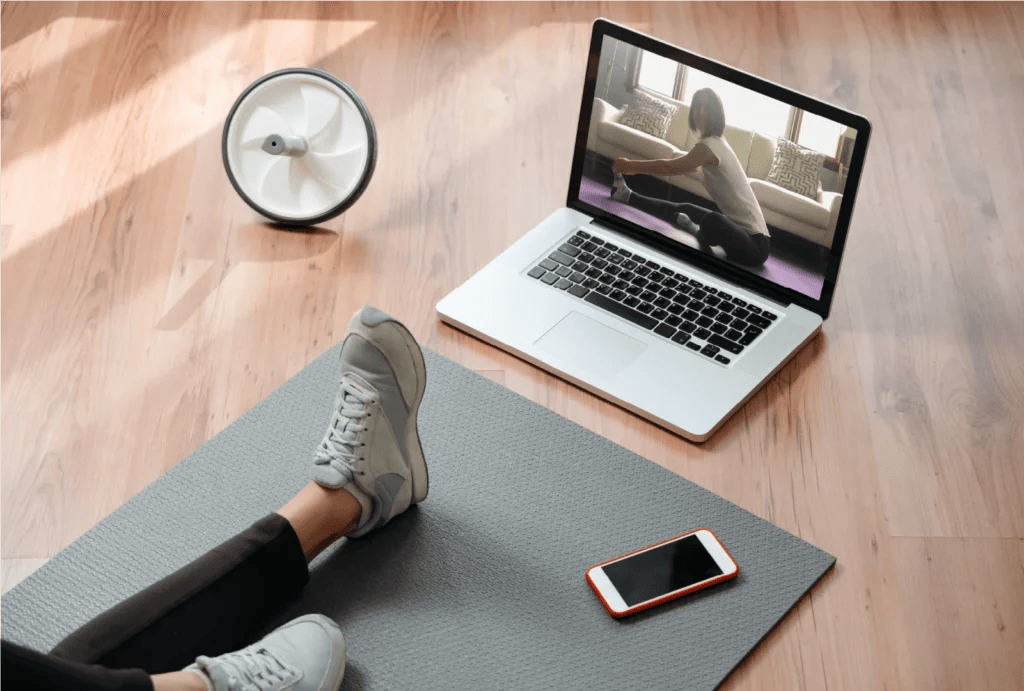
Upload and Organize
Once you have your polished and edited videos, upload them to your desired library platform. Plan to download everything to a secondary location or device as well to serve as a backup in case your primary platform fails.
Some options for organizing and presenting your videos include:
- Google Drive
- YouTube
- Vimeo
- Personal websites
5. Reach Your Target Audience on the Right Platforms
To help you stand out online, identify your strengths and lean into them. Maybe you offer something that others don’t, such as:
- A focus on a specific or under-served niche
- Themes or series (Flex Fridays, Crunchless Core routines)
- Motivational messages
- Daily tips
- Q&A’s
“Videos are a powerful tool for small businesses,” Kifuri says. “They can help showcase your expertise, build trust with your audience, and attract new clients. Batch filming is a great way to …ensure you always have fresh content ready to go. Optimizing your content for social media platforms—like shooting vertically for Instagram Reels and including captions—can also boost engagement.
“Remember, while solid gear can enhance the quality of your videos, creating content that resonates with your audience is what will make the biggest impact.”
6. Protect Your Online Personal Trainer Video Instruction
Even when coaching virtually, accidents can happen, and you may still be held liable for injuries clients sustain while training with you or from advice you gave in a recorded video.
Since your business is online, you’re at greater risk of being hacked. And if you’re filming in multiple locations, your expensive gear can be tempting to thieves, or it could get damaged in transit. Cyber liability coverage and gear and equipment coverage can help cover you in instances like these.
Make sure to protect yourself, your small business, and its assets in the event of mishaps and other unforeseen incidents with personal trainer liability insurance.
Learn more about how to build up your online personal training business in Part Four: Learn How to Create Online Fitness Packages.
FAQs:
Solid, complementary colors usually work best. Avoid colors that blend into your background and tight or busy patterns to reduce the chance of unwanted visual effects (like moire).
Use royalty-free music for your workout videos. Using copyright-protected music in your videos without permission can lead to various legal issues.
- Use smooth transitions between segments
- Edit for the platform you are uploading to
- Utilize text overlays
- Include intros and outros
- Make eye contact
- Be energetic
- Smile
- Show your personality
Ultimately that is up to you and what sort of programming you want to provide. If you don’t, it’s a good idea to remind your clients to do their own.
“How To Become An Online Personal Trainer” is a nine-part series by Insurance Canopy outlining tips and tricks to help you take your training to the next level. Check out the next installment of the series below!

Chelsea Ramsey | Copywriter
Ohio-based copywriter Chelsea Ramsey leverages her experiences as an American Council on Exercise (ACE) certified personal trainer, a role-playing game writer, and a former auto claims adjuster. She holds a bachelor’s in English from Ohio State University and a TEFL certification from Oxford Seminars. Before working at Veracity, Chelsea wrote for Zulily and trained with clients at her local community center. Fully trained on Insurance Canopy’s coverage, she now writes to assist fitness professionals and entertainers in finding their ideal insurance policies.
Ohio-based copywriter Chelsea Ramsey leverages her experiences as an American Council on Exercise (ACE) certified personal trainer, a role-playing game writer, and a former auto claims adjuster. She holds a bachelor’s in English from Ohio State University and a TEFL certification from Oxford Seminars. Before working at Veracity, Chelsea wrote for Zulily and trained with clients at her local community center. Fully trained on Insurance Canopy’s coverage, she now writes to assist fitness professionals and entertainers in finding their ideal insurance policies.